Toggle navigation
PRICING
RESOURCES
FEATURE TOUR
DOCUMENTATION
DEMO SANDBOX
FORUM
BLOG
TERMS OF SERVICE
OUR PRIVACY POLICY
CONTACT
BLOG
SIGN IN
FREE TRIAL
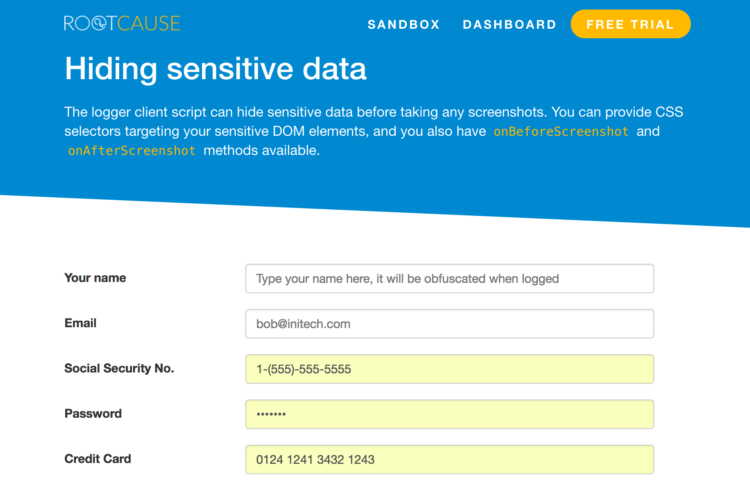
Removing sensitive user data from your logs
Posted by
Mats Bryntse
on
April 25, 2017
| Featured
|
No Comments