Jira is the largest issue tracking and project management software. This is why we have an export option to bring RootCause error reports over to Jira easily. This feature is currently available in our Business and Enterprise plans.
Enable the Jira Export feature
To be able to export RootCause reports to JIRA, start by going to your RootCause Organization settings page. Check the JIRA checkbox and expand the settings panel to enter your JIRA user name, password (stored encrypted in our database) and your JIRA account URL (e.g. coolcorp.atlassian.net).Hit the Test button to make sure the settings are correct. Now you will see a new option appear in the Export button menu, so head over to a bug report details page.

Manual export mode
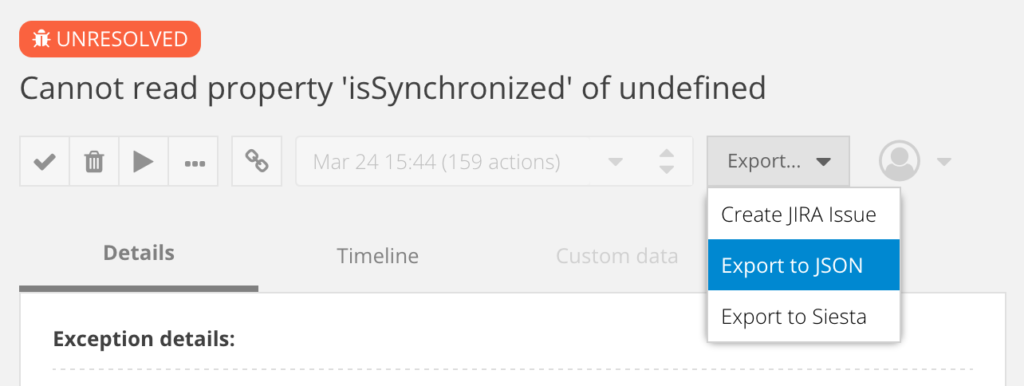
In manual mode, you choose which errors to export and do it manually by clicking the Export button as seen below.
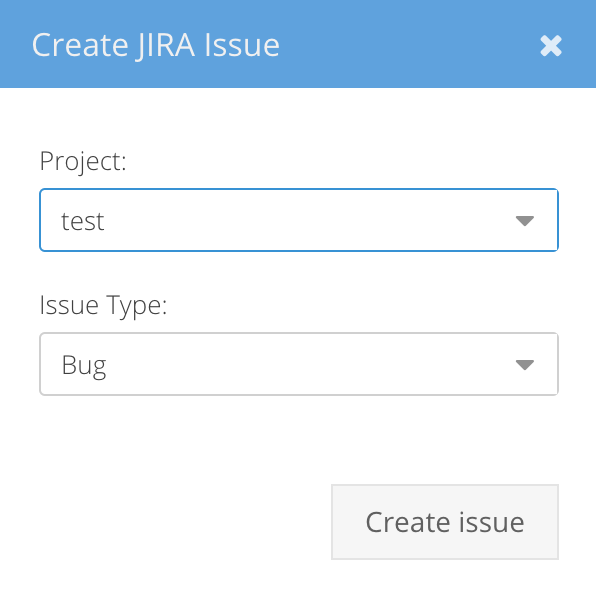
This opens the Export dialog where you can enter the Jira project and issue type to create.
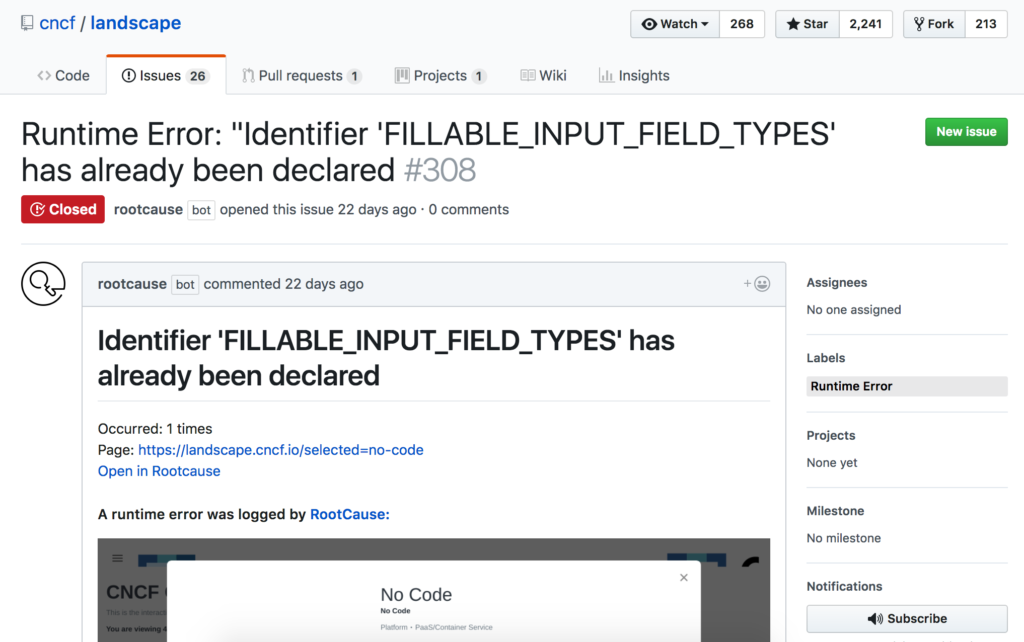
After doing this, a new Jira issue is created, the screenshot is embedded into the issue and a special ‘Runtime error’ label is added.
Automatic mode
There is also a second, automatic mode. It will create a new (or update an existing) Jira issue every time an error is logged by RootCause. Please note that this mode creates just one Jira issue per error. When the same error happens multiple times, the issue is updated so you always know how many times it occurred. If you think that an error is not significant for your project, just close the issue. Any future similar errors will update the issue stats, but it will not distract you from real problems. The automatic mode allows developers to keep using Jira issues as the primary place of all your bug reports, and use RootCause to store the additional debugging context (video replay, live replay etc).
In order to activate the automatic mode, simply check the ‘Publish new issues automatically’ checkbox in your application settings.
Please note that before updating settings, you need to ensure that you have authorized the RootCause Jira app for your repository. All you need to do is to click on ‘Configure Jira App’, install the app into your Jira account and specify which repositories should become accessible to the RootCause app. After that, enter the repository name in the ‘user/repo’ format and press the Test button. In a few seconds you will get a response if the repo is accessible for our Jira app or not.
We hope you’ll find the Jira integration useful, and please let us know what other features are important to you.
Leave a Reply